Five Tools to Supercharge Your Cloud Deep Learning Workflow

Being a productive deep learning researcher takes more than just an understanding of theory. Spending a little time setting up the right tools can pay off in just a few hours, and save you an enormous amount of time!
If you feel like using cloud GPUs adds overhead to your training or development workflow, these tools are for you. Once you get used to them, developing and training models in the cloud will feel just like doing it on your local computer — except with unlimited resources!
We’ll talk about five key tools here: remote debugging, agent forwarding, port forwarding, WSL, and Cmder.
1: Remote Debugging
This might sound familiar to you: I used to prototype and debug new models on my local pc, then push my code to a remote VM and start a training run there. If I encountered an issue, I’d have to try to replicate it locally if I wanted to step through it in the debugger — but this wasn’t always an option, since some issues were specific to certain types of hardware. So I ended up having to add lots of extra logging to diagnose issues that occurred on remote VMs.
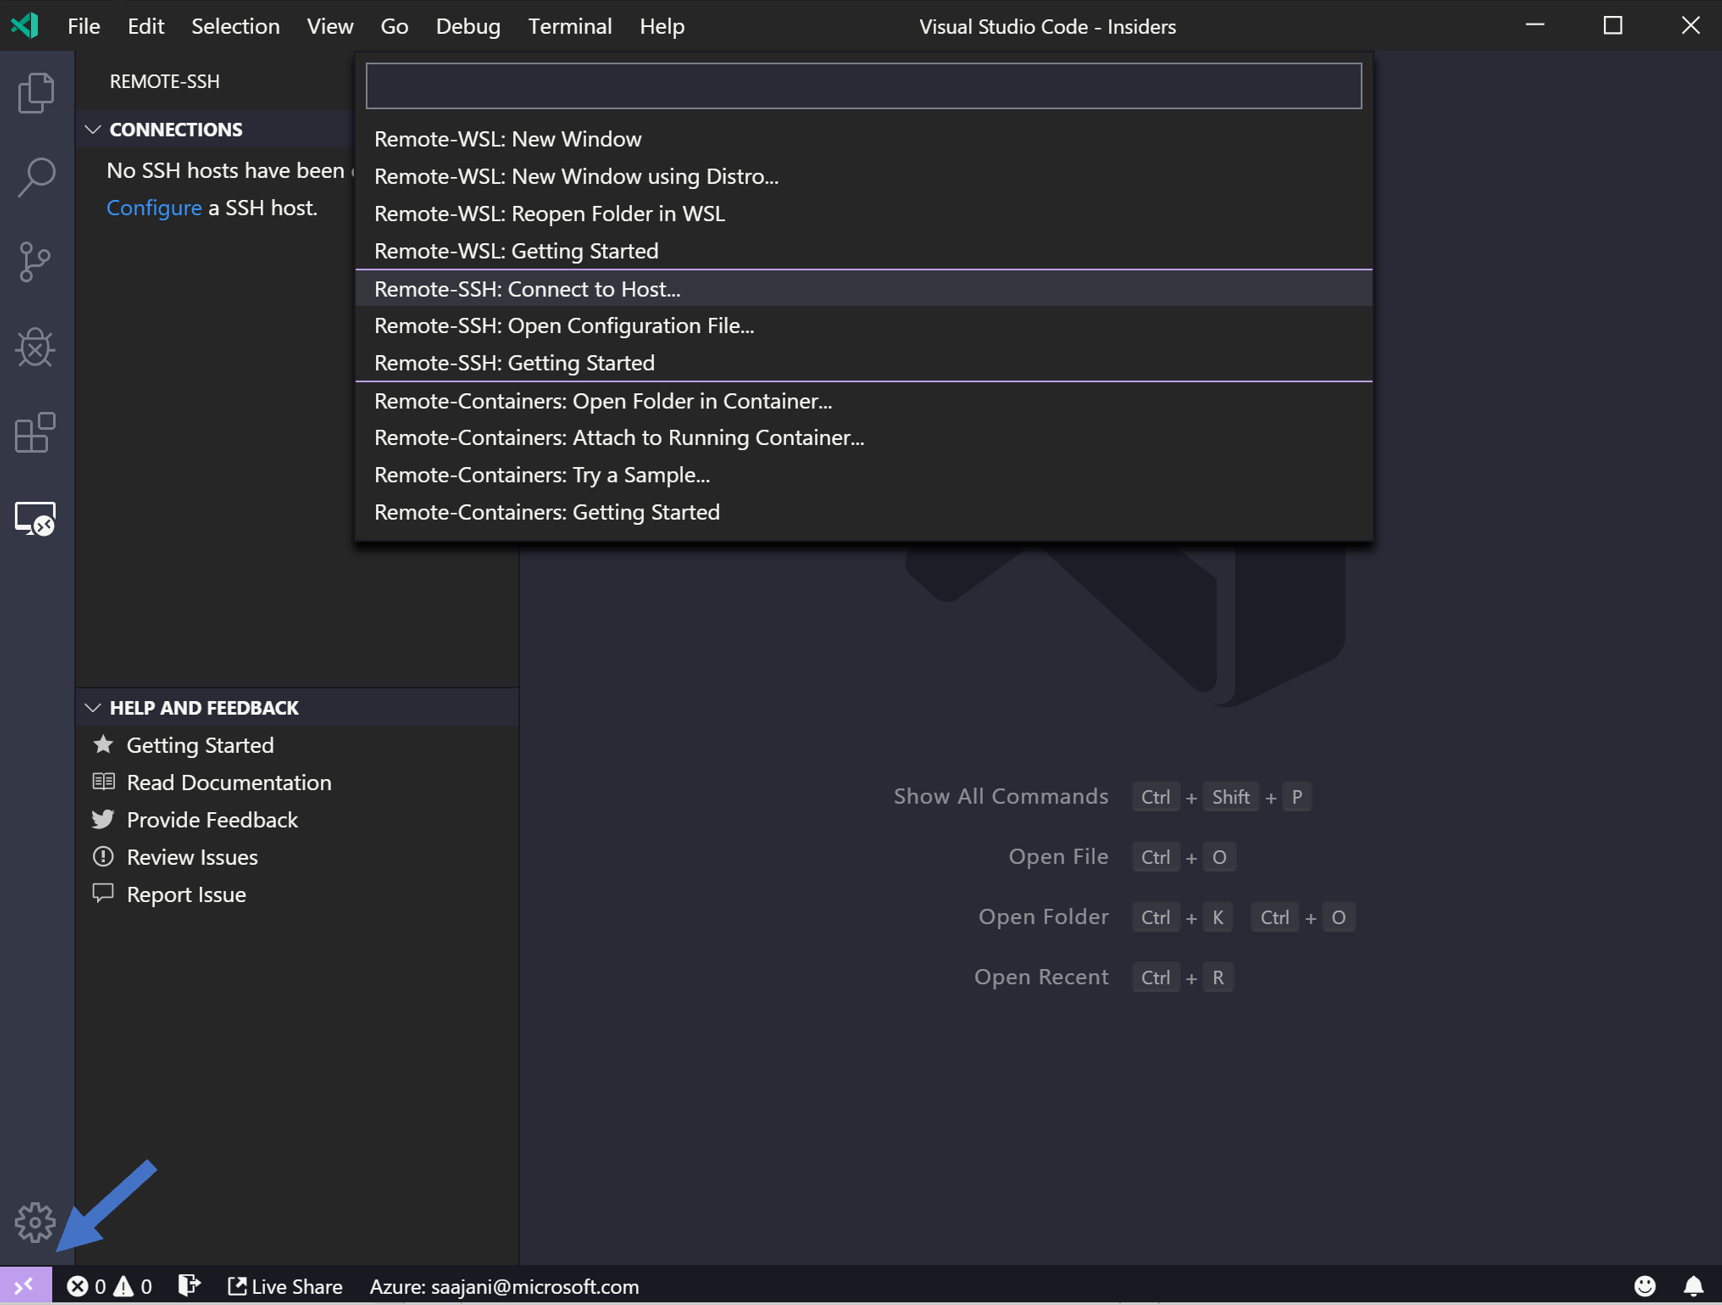
This is where remote debugging saves the day. Visual Studio Code added this last summer, and the paid version of PyCharm has had it for a while. We’ll talk about the VS Code version here since it’s free. This installs a version of VS Code on the cloud VM and connects to that, so that you can edit remote code in VS Code as if it was local code, with all your extensions and everything else. You can even run code on your remote VM, and step through it in the debugger, all from a local VS Code window!
2: SSH Keys and Agent Forwarding
Finding out about agent forwarding was a huge game changer for me. I used to dread setting up new cloud VMs — I’d have to clone my repository, and type in my GitHub password every time I wanted to pull or push code.
Turns out I was doing it all wrong! If you set up an SSH key on your GitHub account, you can pull or push code from a computer with the SSH key on it.
And you can go one better than that — rather than setting up a new SSH key on every VM you set up and adding that to your GitHub account, you can make your local SSH keys available to any VM you SSH into using something called SSH Agent Forwarding.
It’s as simple as replacing ssh user@hostname with ssh -A user@hostname!
No more typing passwords or copying SSH keys…
3: Using Cloud Jupyter Notebooks: SSH Port Forwarding
Jupyter is unmatched for data exploration, and with a little extra setup a cloud Jupyter server can work just like a Jupyter server running locally.
When you run a Jupyter server locally, it will give you a link to open in your browser. When you do the same on a remote VM, the link doesn’t automatically work since it refers to the remote VM as ‘localhost’. The trick here is to use something called SSH Port Forwarding, which can forward traffic for a specific port on your local computer to the remote VM — in this case, the traffic to the notebook server.
Note: Genesis cloud Preconfigured ML instances come with Jupyter Lab pre-installed. If you’re using another provider and haven’t already installed Jupyter on your VM, see this link for installation instructions.
- SSH into your remote VM, forwarding port 8888 (the default port used by Jupyter)
ssh user@host -L 8888:localhost:8888 - Start a Jupyter notebook server on the remote VM:
jupyter notebook --no-browser - Click on the notebook link to open the remote notebook in your browser. You’re now editing your cloud notebooks from your local computer!
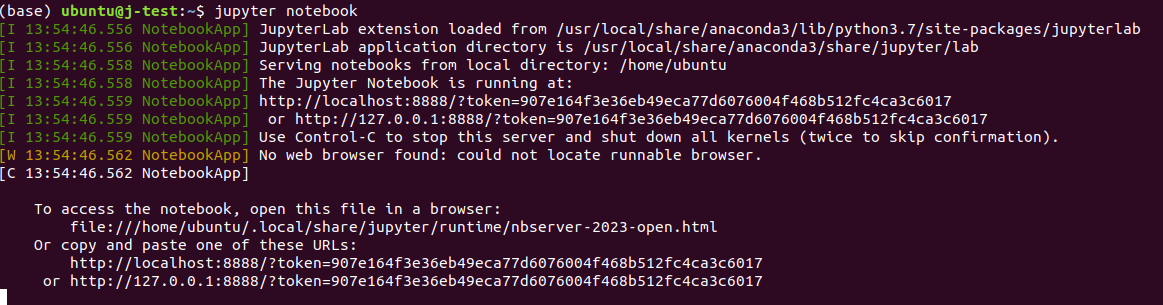
The command line on the remote VM

A notebook session in your local browser
4 & 5: Windows Subsystem for Linux (WSL) and Cmder
If you use Linux or macOS on your desktop or laptop, opening a console on a cloud Linux VM is super easy. But if you’re on Windows… it turns out it’s now pretty easy too! You’ll just need to run WSL.
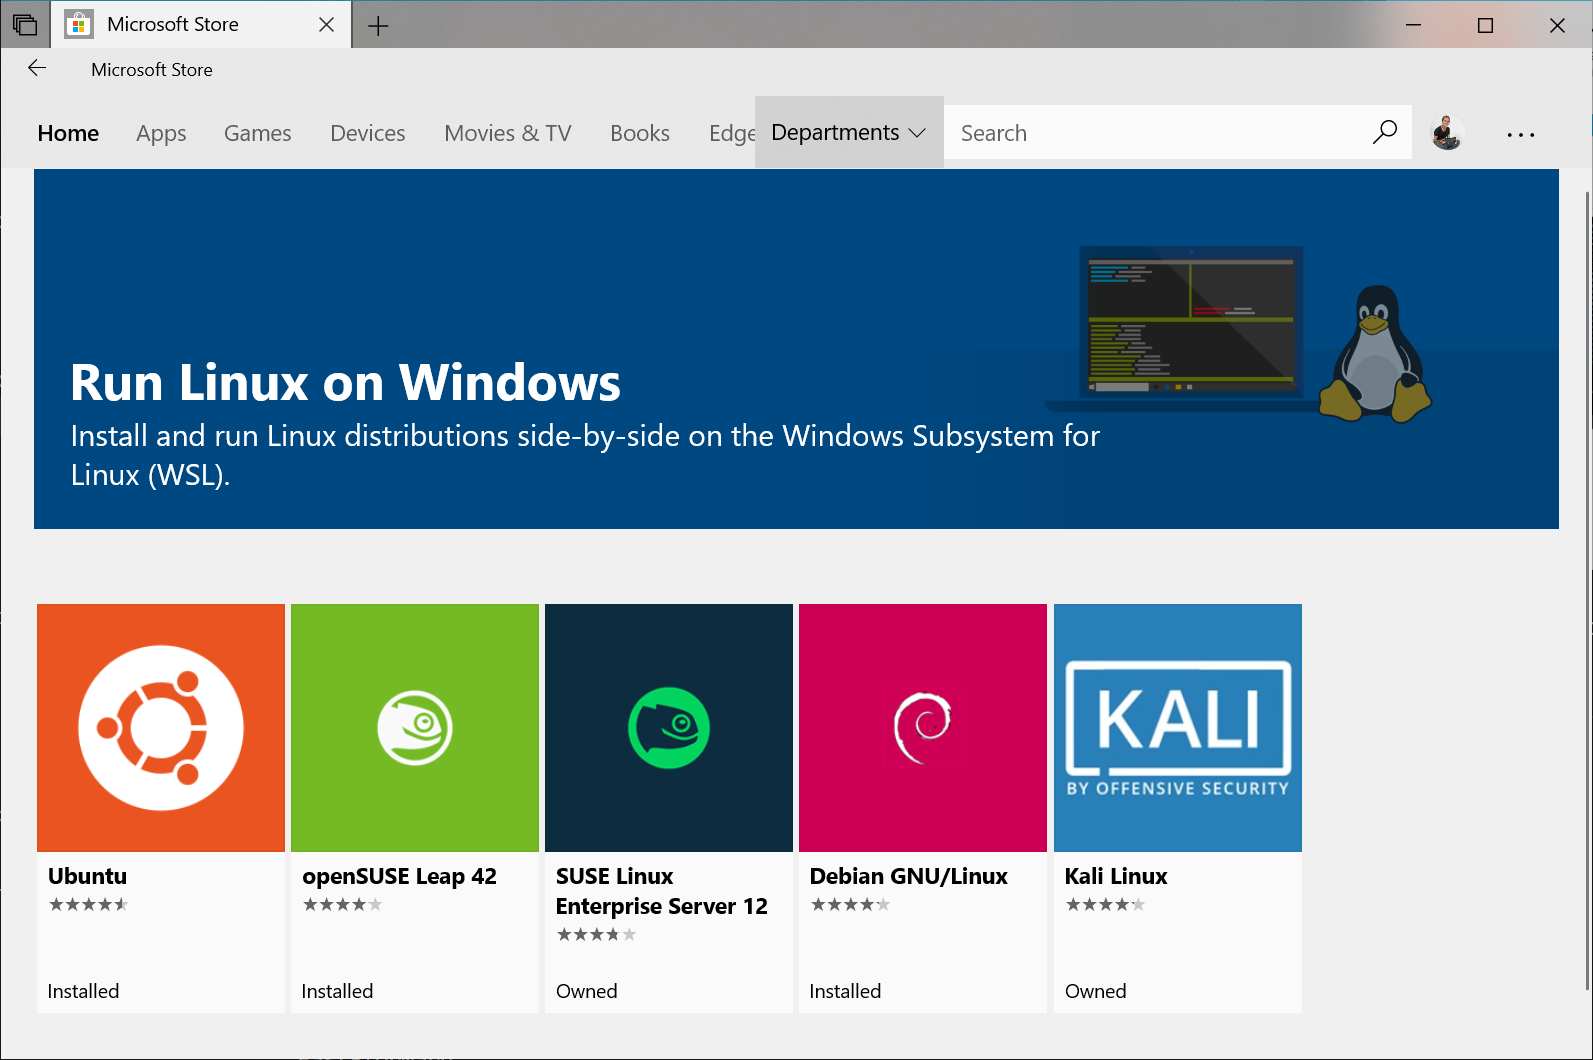
WSL. Image source: https://docs.microsoft.com/en-us/windows/wsl/install-win10
WSL is the Windows Subsystem for Linux — think of it as running a mini Linux system alongside Windows — and it integrates really nicely into Windows 10, allow you to open Linux terminals just like you would open a command prompt! Installing the base WSL takes just a few steps, and then you can go ahead and install your favourite distro on top of it (if you’re not sure which to go for, Ubuntu 18.04 LTS is a good choice!).
Alongside WSL, you might like to use Cmder to manage your terminal windows. It’s highly configurable, so you can set it up for example to open one windows command prompt and one Linux shell when it starts up, or several different shells with different virtual environments initialised. It makes it easier to manage multiple connections to remote VMs.
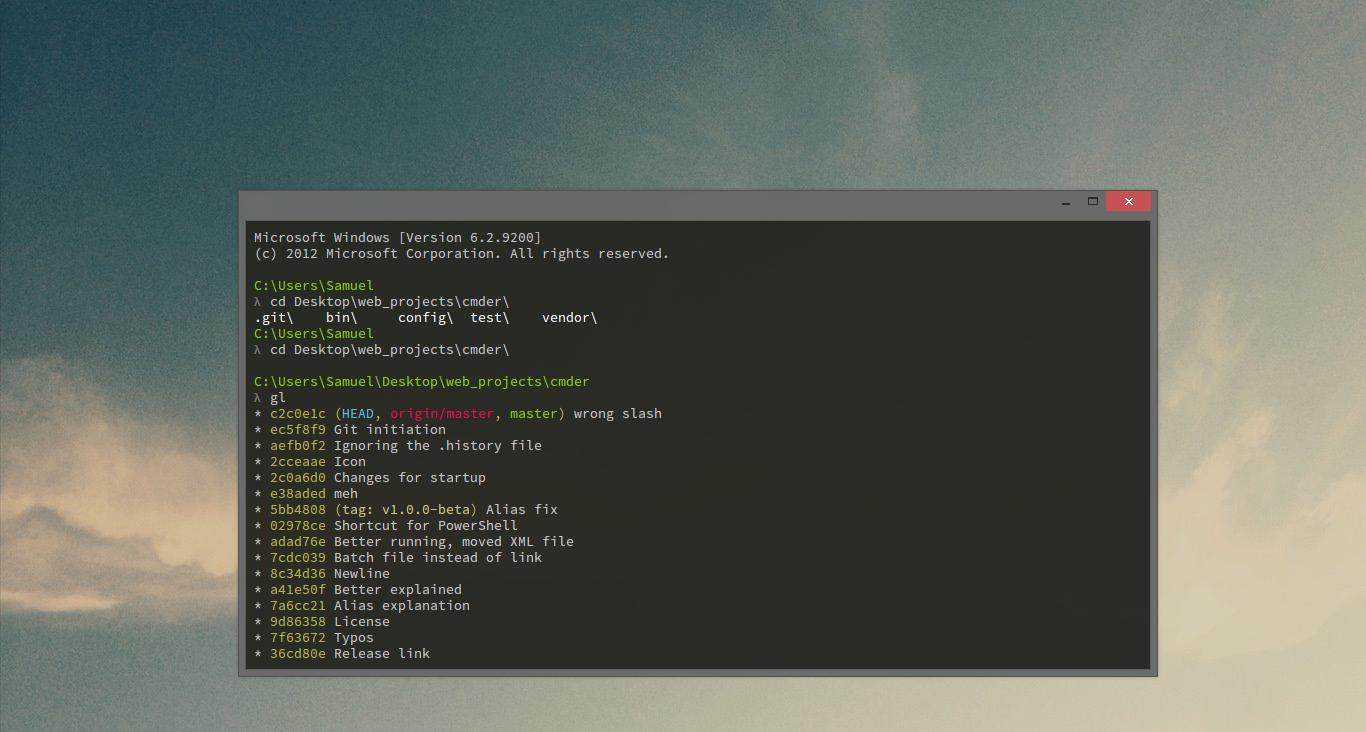
cmder. Source image: https://cmder.app/
Summary
Go forth and be productive!
Here’s a quick summary of the tools and how to use them:
- Use an IDE which has Remote Debugging. More detailed instructions for how to set this up on Genesis Cloud can be found here.
- Specify the
-Aflag when using SSH to avoid having to type passwords or copy SSH keys, e.g.ssh -A user@hostname - Use port forwarding to access a remote Jupyter server from your local browser — e.g.
ssh user@host -L 8888:localhost:8888 - For Windows users: install Windows Subsystem for Linux (WSL)
- For Windows users: install Cmder